At Grand Slam, we have a seasoned print and production team comprising competent floor technicians, supervisors, quality controllers and operation managers. They always weigh the comparative pros and cons study and explain it to the customers placing the order.
Depending upon factors like material type, quantity, number of colors, turnaround time and budget, the team advises the appropriate printing process. Our typical conventional garment printing methods include transfer printing, screen printing, cad cut vinyl and embroidery, all of which have pros and cons. But Digital to Film printing process has become a game changer.
Print on Film- The Very First Step
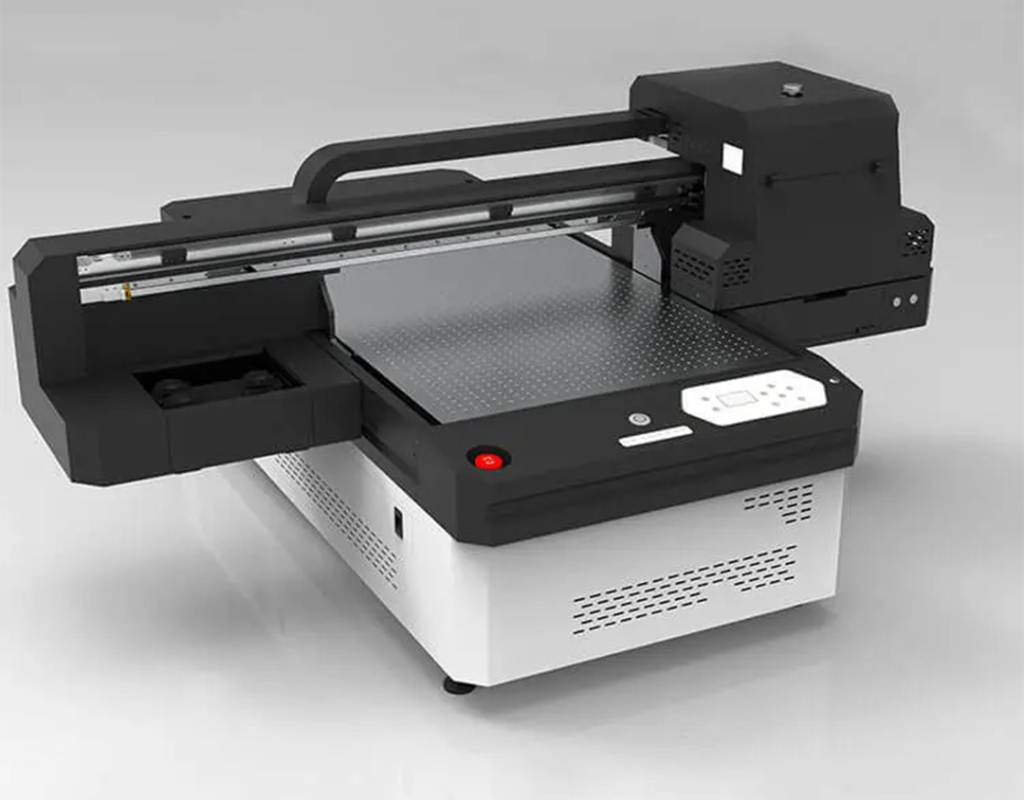
Instead of the routine paper, our machine man inserts the PET film into the printer trays. Then they print the image in white on the PET film. Subsequently, they use the appropriate color settings in the printer and print the required appearance on the white image layer. An essential subject to note here is that the print on the Film should be a mirror image of the actual that needs to appear on the fabric.
Powdering
Here our production man applies hot-melt powder on the Film with the printed image. They use it uniformly when the ink is wet and the excess powder, which they remove carefully.
While undertaking to powder, we hold the Film at the edges such that its long edges remain parallel to the floor (landscape orientation. We pour the powder into the Film’s middle from top to bottom. We ensure that it forms an around 1-inch-thick heap in the center from top to bottom.
As the final step, we pick up the Film with the powder and bend it inwards to form a slight U shape with the concave surface facing oneself. In the end, our printing technician rocks this Film from left to right very lightly so that the powder evenly spreads across the Film’s surface.
Melting The Powder
Here our team puts the Film and the printed image with the applied powder in the Curing Oven and heats it. In this process, we melt the powder. Alternatively, we place the Film inside the heat press and bring it very close to the Film without touching it.
Here we create a time gap of around 4 to 7 mm between the Film and the heat press plate. We go by the manufacturer’s specifications for powder melting. Depending upon the powder and equipment, the heating is done for 3 to 5 minutes with the temperature around 162 to 170 degrees Celsius.
Pre-Press Process
Here we do the necessary pre-pressing of the fabric before the image transfer by the Film. The pre-pressing helps transfer the image from the Film onto the cloth properly. The material is continuously kept in the heat press for about 5 seconds to flatten the fabric and ensure the material’s de-humidification.
Transfer
It is the core of the Digital to film printing process. Here we place PET film with the image and melted powder on the pre-pressed fabric inside the heat press for a more excellent adhesion between the Film and the material. We do the curing at a temperature range of 162 to 170 degrees Celsius for approximately 12 to 20 seconds and make the stated Film attached to the material.
Cold Peel
Here we cool down the fabric and attached file to room temperature before you pull the Film off. As it starts cooling down, it acts as a binder that grips the coloured pigment in the inks in firm adhesion with the fabric’s fibers. Once the Film is cooled, you peel it off the material, leaving the design printed in ink over the material.
Post-Pressing
To achieve the best results and high-performance parameters like a wash, we press the final fabric with the transferred design in the heat press for around 12 to 15 seconds. The final print output now gets ready.


